How to Create Inspiring Mood Boards for Graphic Design
Understanding Mood Boards
A mood board is a curated collection of images, materials, text, and color palettes that encapsulate the spirit of a design project. It visually conveys the desired mood, theme, and direction, making it easier for you to communicate your ideas to clients or collaborators.
Steps to Craft Your Mood Board
1. Clarify Your Purpose
Before diving into material collection, define the goal of your mood board. Are you focused on a specific project, or is this a general inspiration source? Understanding your objective will help keep you on track.
2. Gather Visual Inspiration
Collect images, patterns, color swatches, typography, and other design elements from a variety of sources:
- Online Platforms: Use resources like Pinterest, Behance, and Dribbble for visual inspiration.
- Printed Media: Cut out relevant images and text from magazines and books.
- Your Environment: Take photos of interesting textures, colors, and shapes in the world around you.
3. Choose a Format
Decide whether your mood board will be physical or digital:
- Physical Boards: Use corkboards or large sheets of paper to pin or glue your materials.
- Digital Boards: Use platforms like Adobe Spark, Canva, or Pinterest for easy creation and sharing.
4. Organize Your Components
Begin arranging your collected elements on the board. Look for opportunities to group similar items:
- Color Palettes: Cluster colors that complement one another.
- Thematic Grouping: Organize images by themes or moods, such as minimalist, vibrant, or vintage.
- Typography Samples: Include font examples that align with your project’s style.
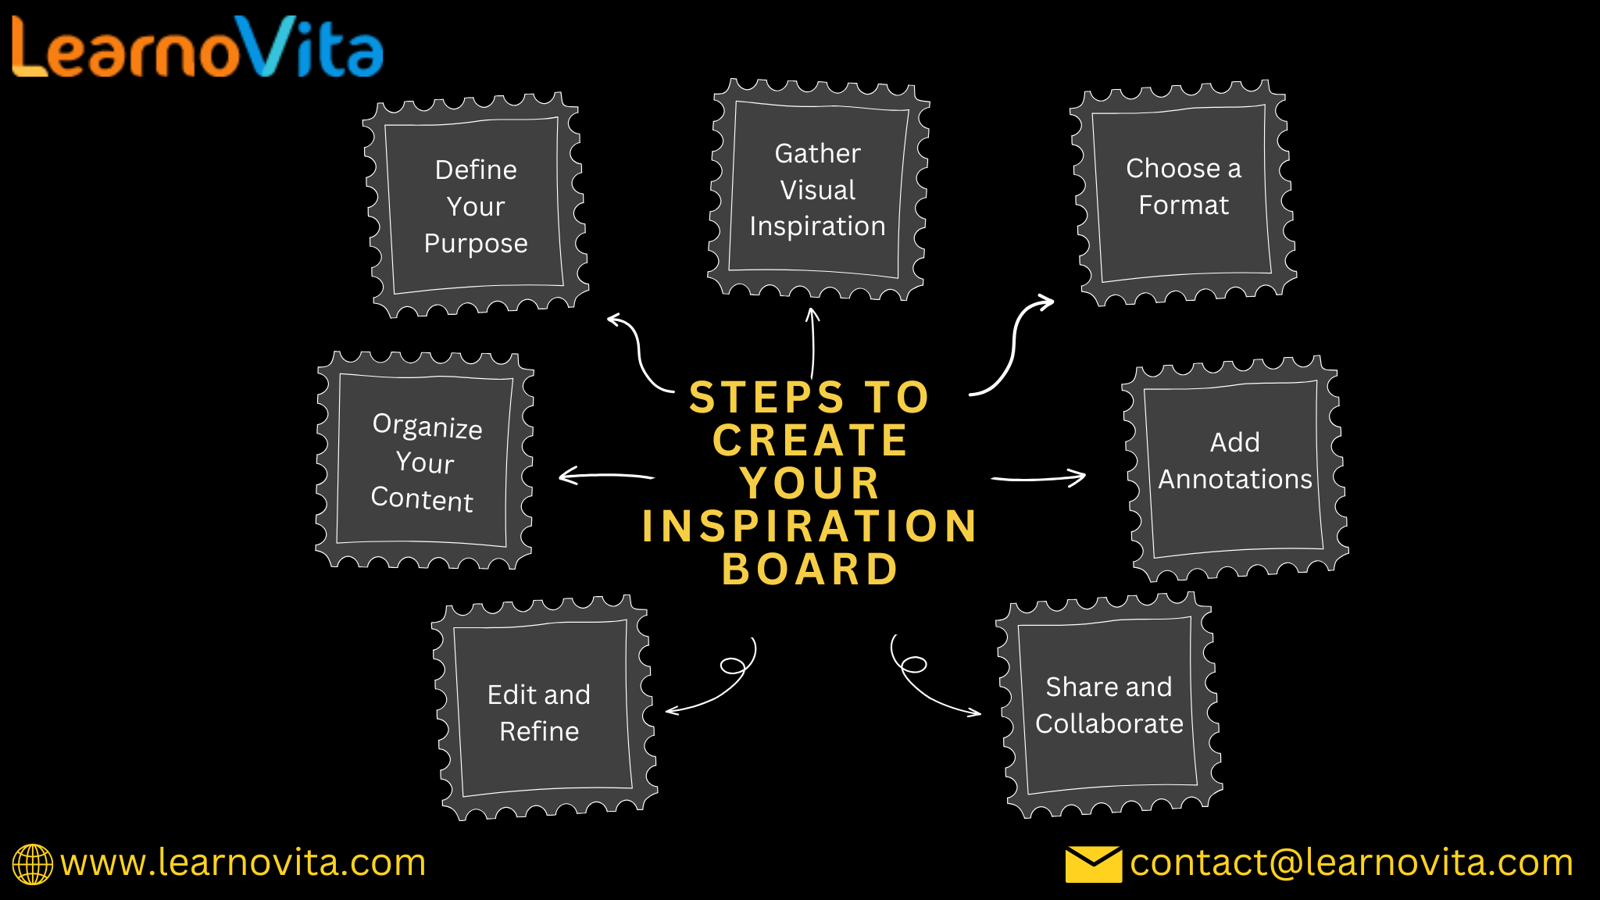
5. Refine and Edit
After arranging your materials, take a step back to assess the overall composition. Remove any elements that don’t fit or feel cluttered. Aim for a cohesive look that communicates your vision effectively.
6. Include Annotations
Consider adding notes or keywords that summarize your thoughts about each element. This can help clarify your ideas and intentions for the project.
7. Share and Collaborate
If you’re working with a team or client, share your mood board for feedback. Collaboration can lead to new insights and ideas that enhance your project.
Tips for Crafting Impactful Mood Boards
- Be Adaptable: Your mood board is a living document. Feel free to update it as your project develops.
- Focus on Quality: Choose elements that truly inspire you, avoiding an overwhelm of choices.
- Ensure Visual Consistency: Strive for a unified appearance that aligns with your project’s goals.
Conclusion
Creating a mood board for graphic design is an enriching process that helps you organize your thoughts and creatively express your ideas. By following these steps, you can develop a board that not only inspires but also serves as a valuable reference throughout your design journey. Gather your materials, unleash your creativity, and start on your next mood board today!


Comments
Post a Comment